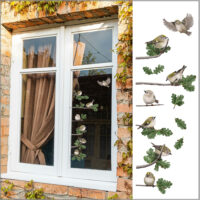
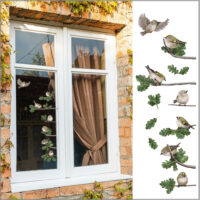
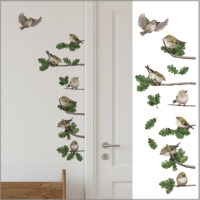
You can just peel them off, stick them to the surface and press well! But for perfection you can follow these expert tips! The stickers often have very delicate parts such as the little feet or stems of the flowers. This method ensures the least chance of tearing them.
Remove the unprinted white area of the sticker around all images. It makes the removal of the actual sticker easier. You can take your time this way. A large area of backing material is ready to stick the sticker back on when you're in need of it. It's important to touch the back as little as possible so easy removal is preferred.
Cut out the shape. This way you can first arrange where you want it to be. Hold the image in place, or temporarily stick it to the wall with tape so you know the best spot to place them. Then, when you've determinted the right angle, peel down a part of the backing and fold it over. Stick the open part to the wall.
Pull back more and more of the backing and systematically press the sticker to ensure there are no air bubbles. Then it's in place. Important is that you press well in the first few hours. This is when the adhesive is fixing on it's surface. Do this a couple of times and you'll enjoy the sticker for a long long time!
To enjoy the wall stickers for the longest time keep a few things in mind:
The ideal surface is smooth, dry, clean, has no holes or grainy structure that can come off and no greasy or dusty top layer. So clean it and dry it well. Make sure that there's no air underneath them. For coarse stucco walls, use a hairdryer to smooth the sticker over the texture of the wall; read below.
To make them stick for a long time keep on pressing them the first few hours, especially around the edges.